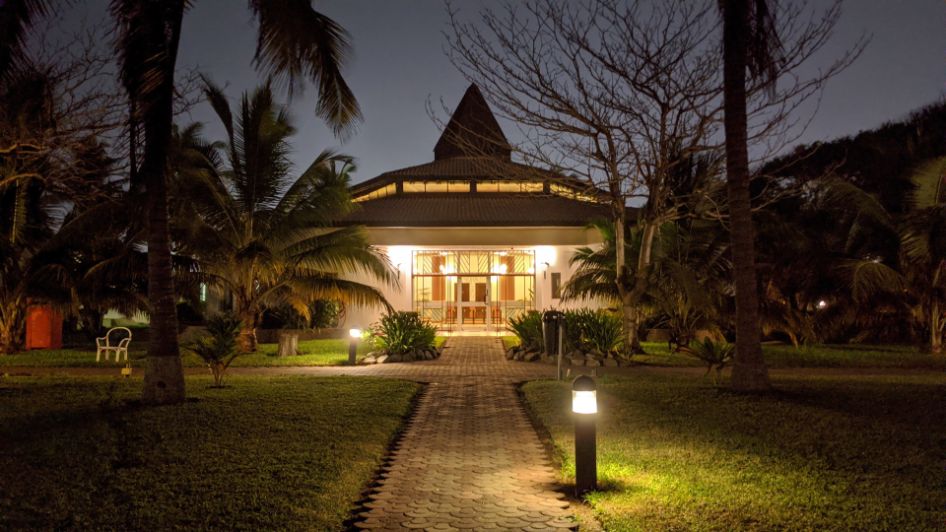
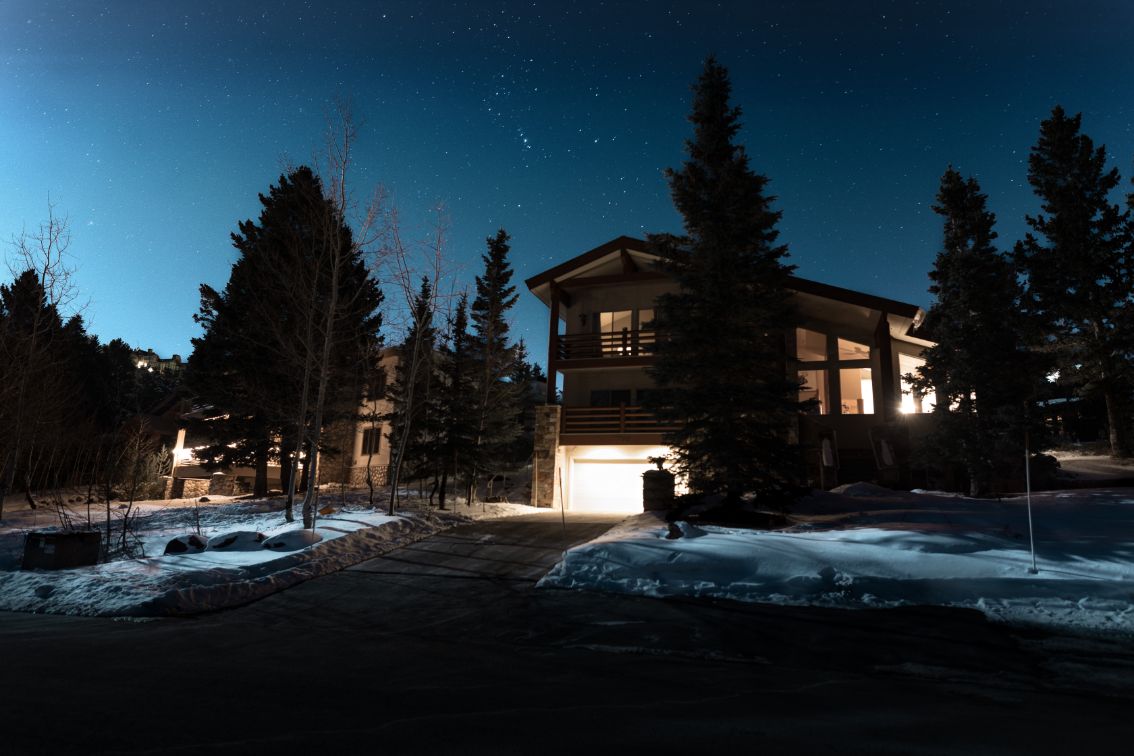
Determine which areas of your property you want to light before deciding which landscape lights to buy. Your house’s front is a blank canvas. People’s perceptions of your property are influenced by how your front lighting is positioned. The best features of your home can be brought to light by strategically placed lighting. On the other hand, poorly placed lighting might have the opposite effect. Read this article to learn the best locations for front-of-house lighting.
Three Rules Of Effective Lighting Front Of House
When developing a lighting plan for a home, lighting designers adhere to a number of rules. Cohesion, depth, and focal points are three crucial design elements to take into account when creating outdoor lighting.
Cohesion is the idea of the overall impression you want to convey. Illuminating the background, transitional areas, and borders will help your lighting design to flow together.
Because your eyes will naturally overlook the space, you should avoid having large, dark areas near your home. The experience is ruined by that.
Depth is the next crucial concept to understand. Your home’s front is a three-dimensional space. You must arrange your lighting components to maximize the use of your available space. To help you utilize the space to the fullest, you can use high, medium, or low-wattage lights with various spreads.
And lastly, think about your home’s focal points when choosing where to place the front-of-house lighting. Select the features you want to highlight. Unique aspects of your home or use components of it could serve as the focal points.
For example, you might want to draw attention to a special water feature. Seating areas or the front door are examples of functional home features.
What Lighting Should You Use?
Use Uplighting And Moonlighting
There are two ways to draw attention to tall landscape features in front of your house: uplighting and moonlighting. Installing well- or directional lights that point upward under trees or other architectural features is known as uplighting.
Moonlighting imitates the moon’s spillover effect on a building. By mounting a light on a tree that is facing downward, you can cast dappled shadows across the lawn.
Large areas of your property are softly illuminated and dark spots are reduced by moonlight. The lighting fixtures should ideally hang from a canopy-covered tree at least 25 feet in the air.
Use Silhouetting, Shadowing, And Grazing
Uplighting can also be used to draw attention to nearby objects and exterior walls. Silhouetting, shadowing, and grazing are a few techniques that can be used to achieve this goal with uplighting.
A wide-angle light is used to silhouette a wall that is outside. Placing the light between a feature and the wall will give an object a bright backdrop. The best results for this method will come from a plain, untextured wall.
By shining a light on an object, shadowing involves drawing patterns on walls. It’s an attractive way to light up low-lying vegetation and other items. As shadows break up the monotony, they are particularly useful for homes with vinyl siding or untextured exterior walls.
Finally, grazing involves shining a light against a wall at an acute angle. The majority of grazing lights are mounted one foot from the wall with the fixture tilted away from the wall to lessen hot spots. Grazing is particularly effective on uneven surfaces like river stones because it creates interesting shadow patterns.
Ensure Your Path Lights Illuminate Downward

You should illuminate the path(s) that cross your property because they are a natural feature of the front of your house. You can accomplish this and enhance the appearance of your property by using path lights that are placed carefully.
On both sides of the path, you should evenly space your path lights. It is crucial that traditional path lights with domes direct the light downward. When deciding where to put your feet, you don’t want to be blinded by lights.
Step Lights
Some step lights emit light indiscriminately in all directions, including directly into your eyes. This makes it more hazardous and difficult to see the steps. These protected newel-post deck lights are much better at avoiding shining light directly into your eyes by directing it down onto the stairs.
Under stair treads, linear LED strip lights direct light downward onto the steps to provide even better illumination and maintain the intended point of focus.
Lanterns
To help reduce glare, stay away from lanterns with clear glass and visible candle-shaped bulbs. Choose frosted shades, and point the light fixtures downward to direct more light toward the floor. Additionally, to create a warm atmosphere, think about adding dimmers or using low-wattage bulbs.
Pendants
Similar to lanterns, pendants above the door should either use low-wattage bulbs and dimmers or completely avoid bare bulbs. Never rely on lanterns and pendants to provide your primary source of usable light; doing so could cause your eye’s iris to contract, making it even more difficult to see in the dark.
Make fixtures out of translucent glass, like milk glass or amber mica. It will also function if the light source is heavily shielded and pointed downward.
Spotlights
The light that many spotlights and security lights emit is often pointed directly into your eyes, which may be effective for catching burglars but not for everyone else.
Instead, try shining a spotlight on the architectural details of your house, such as the brickwork, molding, and eaves. This will provide the light that makes us feel safe without making visitors feel unwelcome.
Downlights
Generally speaking, standard interior downlights are not a good option for outdoor use due to their wide light distribution and increased glare. Use downlights that are deeply recessed and have the light source or bulb hidden in the ceiling instead. You’ll be able to adequately light the porch by adding dimmers.
Things Not To Do
Don’t Leave Your Wiring Exposed
If left exposed, wiring may present a fire or electrical risk. Extreme weather can make the exterior coating brittle, and pets or wild animals can gnaw through the insulation. Accidents can also be caused by exposed wiring. Bury your wiring to stop situations like these from occurring.
A tin-coated marine-grade wire is favored by the most reputable lighting designers. The National Electrical Code advises burying wire at a depth of 18 inches below the soil’s surface in a non-metallic conduit made of a material like PVC. A depth of 6 inches will be adequate if you want to use a rigid metal conduit.
Don’t Point Lighting Fixtures Directly At Doors Or Windows
Do not direct your outdoor lighting fixtures to windows or doors. Visibility can be significantly reduced by shining a light toward your doors or windows.
You won’t be able to see outside due to the glare, and the backlighting might make it difficult for you to spot any suspicious figures or objects that might be hiding in shadows. We propose to place light sources at an angle, rather than pointing them directly at doors or windows.
Final Words
Many people rush to spend more evenings outside before it gets too cold as the summer draws to a close. It will help those summer nights last even longer if you update your exterior lighting.
Make sure to keep ideas like focal points, cohesion, and depth in mind when creating your lighting plan. Additionally, there are other methods you can employ to light up your house, including moonlighting, uplighting, silhouetting, and more.
